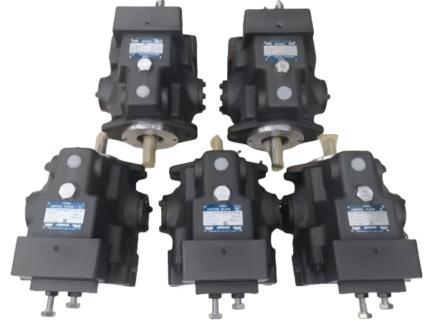
Sale


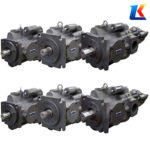
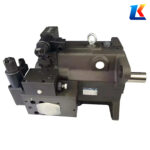
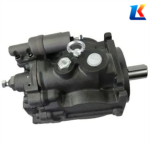

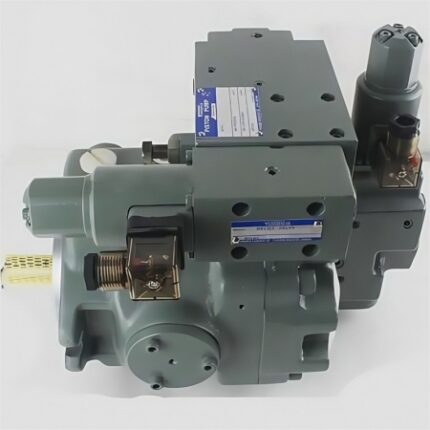
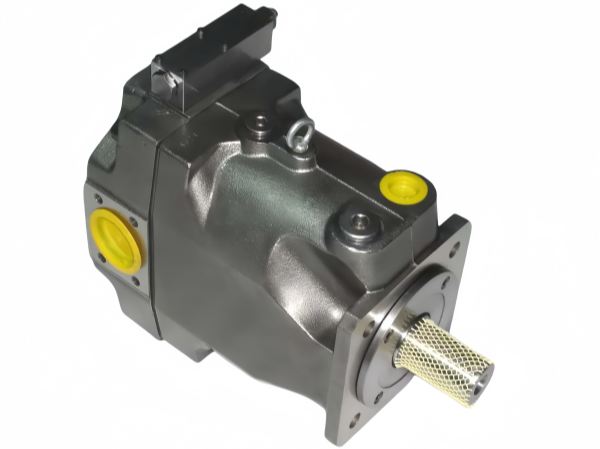
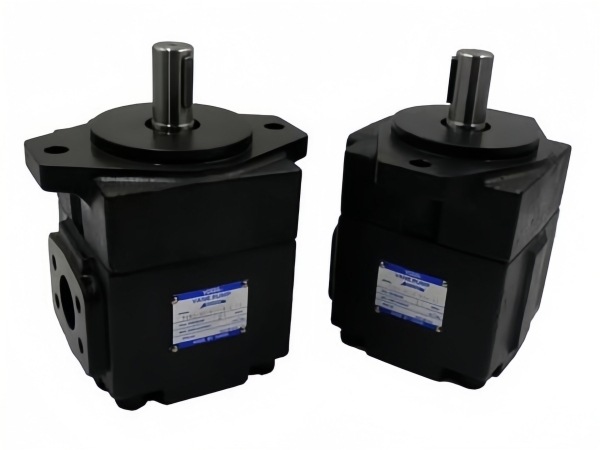
A3H180-FR01-11A4K-10 Yuken variable piston pump
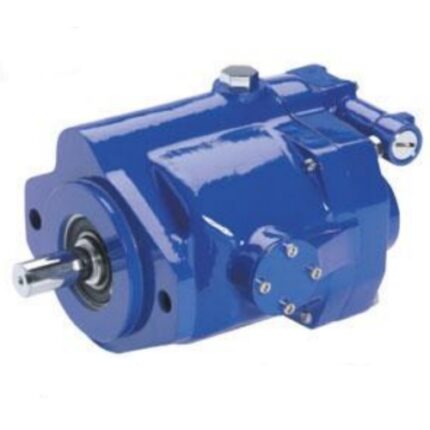
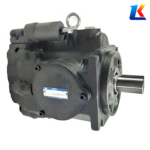
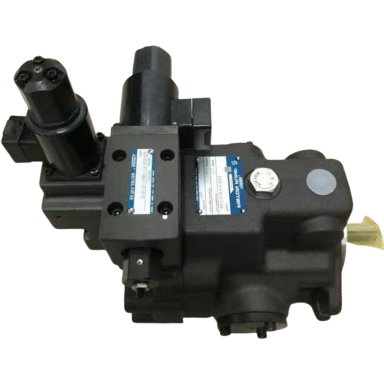
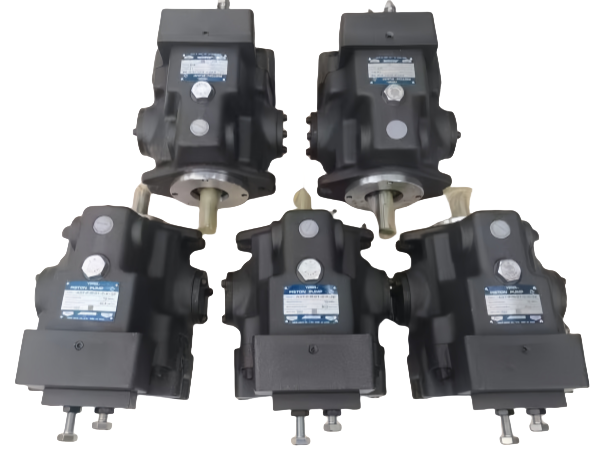
YUKEN piston pump series: A series, AR series, ARL1 series, A3H series, A3HG series, A7H series.
Whats app: +86 13728707767
E-mail: hyd-sales2009@outlook.com
We are a professional manufacturer of hydraulic pumps, offering a complete range of products. Inquiries are welcome! (#^.^#)
Description
Instruction Manual for YUKEN Variable Displacement Piston Pump A3H180-FR01-11A4K-10
1. Product Overview
The YUKEN A3H180-FR01-11A4K-10 is a high-pressure variable displacement piston pump designed for industrial applications requiring stable performance and high reliability. It adopts advanced hydraulic control technology, featuring compact structure, high efficiency, and strong adaptability to harsh working environments. This pump is widely used in mining machinery, large die-casting equipment, heavy-duty hydraulic systems, and other fields that demand high pressure and variable flow output.
Key design features include: high rated pressure, stable variable control, low noise operation, and long service life. It is engineered to meet the strict requirements of industrial hydraulic systems, ensuring continuous and efficient operation under various working conditions.
2. Technical Specifications
|
Item
|
Specification
|
|
Model
|
A3H180-FR01-11A4K-10
|
|
Displacement
|
180.7 cm³/rev
|
|
Rated Pressure
|
28-35 MPa (Consult YUKEN if used over rated pressure due to operating condition restrictions)
|
|
Maximum Speed
|
1800 rpm
|
|
Minimum Speed
|
600 rpm
|
|
Installation Type
|
Foot mounting (Flange mounting reference: relevant specifications)
|
|
Thread Size
|
RC 3/4 (3/4 BSP.F)
|
|
Drain Port Thread
|
M12
|
|
Flow Adjustment Screw
|
19 mm (.75 inch) hexadecimal
|
|
Operating Temperature Range
|
-10°C to 80°C
|
|
Recommended Hydraulic Oil
|
ISO VG 46 or ISO VG 68 hydraulic oil (cleanliness class NAS 8 or higher)
|
3. Installation Instructions
3.1 Installation Preparation
-
Check the pump for any damage during transportation (e.g., cracks, loose parts, oil leakage).
-
Ensure the installation surface is clean, flat, and free of debris. The mounting base must have sufficient rigidity to avoid vibration during operation.
-
Prepare the required tools, fasteners, and hydraulic oil that meets the specifications.
-
Verify that the hydraulic system pipeline is clean and free of impurities to prevent damage to the pump’s internal components.
3.2 Installation Steps
-
Install the pump on the mounting base using appropriate fasteners, ensuring uniform tightening torque to avoid uneven stress on the pump body.
-
Align the pump shaft with the motor shaft accurately (coaxiality error ≤ 0.1 mm/m). Use a flexible coupling to connect the two shafts, avoiding rigid connection to reduce vibration transmission.
-
Install the pump so that the “filling port” is at the top to ensure proper oil filling and prevent cavitation.
-
Connect the suction and discharge pipelines to the pump’s ports. Ensure the pipeline connections are tight and leak-proof. The suction pipeline should be as short and straight as possible to reduce suction resistance.
-
Connect the drain pipeline to the drain port (marked “C”) and ensure unobstructed drainage to avoid pressure buildup in the pump housing.
-
Fill the pump and hydraulic system with the recommended hydraulic oil to the specified level. Bleed the air from the system to prevent air entrainment, which may cause noise and damage to the pump.
4. Operation and Control
4.1 Pre-Startup Check
-
Check that all fasteners are tight and all pipeline connections are leak-proof.
-
Ensure the hydraulic oil level is within the specified range and the oil is clean.
-
Verify that the suction and discharge valves are fully open.
-
Check the direction of the motor rotation to ensure it matches the pump’s rotation direction (marked on the pump body).
4.2 Startup Procedure
-
Start the motor at low speed and run it idly for 2-3 minutes to allow the hydraulic oil to circulate and lubricate all components.
-
Gradually increase the motor speed to the rated speed, and monitor the pump’s operation (e.g., noise, vibration, oil leakage).
-
Check the pressure gauge and vacuum gauge readings to ensure they are within the normal range. If any abnormal readings are found, stop the pump immediately and troubleshoot.
4.3 Variable Control Operation
The A3H180-FR01-11A4K-10 pump adopts electro-hydraulic proportional control with feedback function and constant pressure control (depending on the specific configuration). Adjust the flow and pressure according to the system requirements:
-
Flow Adjustment: Use the flow adjustment screw (19 mm hexadecimal) to adjust the displacement. Turning the screw clockwise reduces the flow, while turning it counterclockwise increases the flow.
-
Pressure Adjustment: Adjust the pressure relief valve or proportional control valve according to the system’s working pressure requirements, ensuring the pressure does not exceed the rated pressure.
4.4 Shutdown Procedure
-
Gradually reduce the system load to zero.
-
Cut off the motor power supply to stop the pump.
-
Close the suction and discharge pipeline valves to prevent oil backflow.
-
If the pump will not be used for a long time, drain the hydraulic oil from the pump and system, and seal the ports to prevent dust and moisture from entering.
5. Maintenance and Troubleshooting
5.1 Regular Maintenance
-
Daily Maintenance: Check the pump for oil leakage, abnormal noise, and vibration. Monitor the hydraulic oil temperature and level. Clean the oil filter regularly to ensure oil cleanliness.
-
Monthly Maintenance: Inspect the tightness of all fasteners and pipeline connections. Check the condition of the shaft seal and replace it if there is oil leakage. Sample and test the hydraulic oil to check for contamination or degradation.
-
Annual Maintenance: Disassemble the pump (by professional personnel) to inspect internal components (e.g., pistons, cylinders, valves) for wear or damage. Replace worn parts and reassemble the pump according to the assembly diagram. Flush the hydraulic system and replace the hydraulic oil.
5.2 Common Faults and Solutions
|
Fault Phenomenon
|
Possible Causes
|
Solutions
|
|
Insufficient flow
|
1. Clogged suction filter; 2. Low hydraulic oil level; 3. Leakage in the suction pipeline; 4. Worn pump internal components; 5. Incorrect flow adjustment.
|
1. Clean or replace the suction filter; 2. Add hydraulic oil to the specified level; 3. Check and repair the suction pipeline; 4. Disassemble and replace worn components; 5. Adjust the flow adjustment screw correctly.
|
|
Pressure fluctuation
|
1. Air entrainment in the system; 2. Blocked pressure relief valve; 3. Worn valve components; 4. Oil contamination.
|
1. Bleed the air from the system; 2. Clean or replace the pressure relief valve; 3. Replace worn valve components; 4. Replace the hydraulic oil and clean the system.
|
|
Abnormal noise
|
1. Air entrainment; 2. Incorrect shaft alignment; 3. Worn bearings or internal components; 4. Low oil viscosity.
|
1. Bleed the air; 2. Realign the pump and motor shafts; 3. Replace worn bearings or components; 4. Use hydraulic oil of the recommended viscosity.
|
|
Oil leakage
|
1. Loose pipeline connections; 2. Damaged shaft seal or O-ring; 3. Cracked pump housing.
|
1. Tighten the pipeline connections; 2. Replace the shaft seal or O-ring; 3. Replace the pump housing if cracked.
|
6. Disassembly and Assembly
Disassembly and assembly of the pump should be performed by professional technicians familiar with hydraulic pumps. Before disassembly, cut off the power supply and drain all hydraulic oil from the pump. Refer to the pump’s explosion diagram (provided in the official complete manual) for the location and sequence of components. Key points:
-
Use special tools to avoid damaging components during disassembly.
-
Record the installation position of each component to ensure correct reassembly.
-
Clean all components thoroughly before reassembly. Replace worn or damaged parts (e.g., seals, bearings, pistons) with original YUKEN spare parts.
-
Apply an appropriate amount of hydraulic oil to the mating surfaces during reassembly to ensure lubrication.
-
After assembly, perform a test run to check for normal operation and oil leakage.
7. Safety Precautions
-
Operators must read this manual thoroughly before operating the pump. Unauthorized operation is prohibited.
-
Do not exceed the rated pressure and speed during operation to avoid pump damage and safety accidents.
-
During operation, do not touch the high-temperature surfaces of the pump (e.g., pump body, pipelines) to prevent burns.
-
Before performing maintenance or disassembly, cut off the power supply and relieve the system pressure to avoid accidental startup or oil spray.
-
Use only original YUKEN spare parts and recommended hydraulic oil to ensure the pump’s performance and service life.
-
Keep the working area clean and tidy. Avoid placing flammable and explosive materials near the pump to prevent fire accidents.
8. Technical Support
For more detailed technical information, updated manuals, or troubleshooting assistance, please contact YUKEN’s official technical support department or authorized agents. You can also visit YUKEN’s official website for relevant resources and contact information.
YUKEN reserves the right to modify the product specifications and manual content without prior notice.
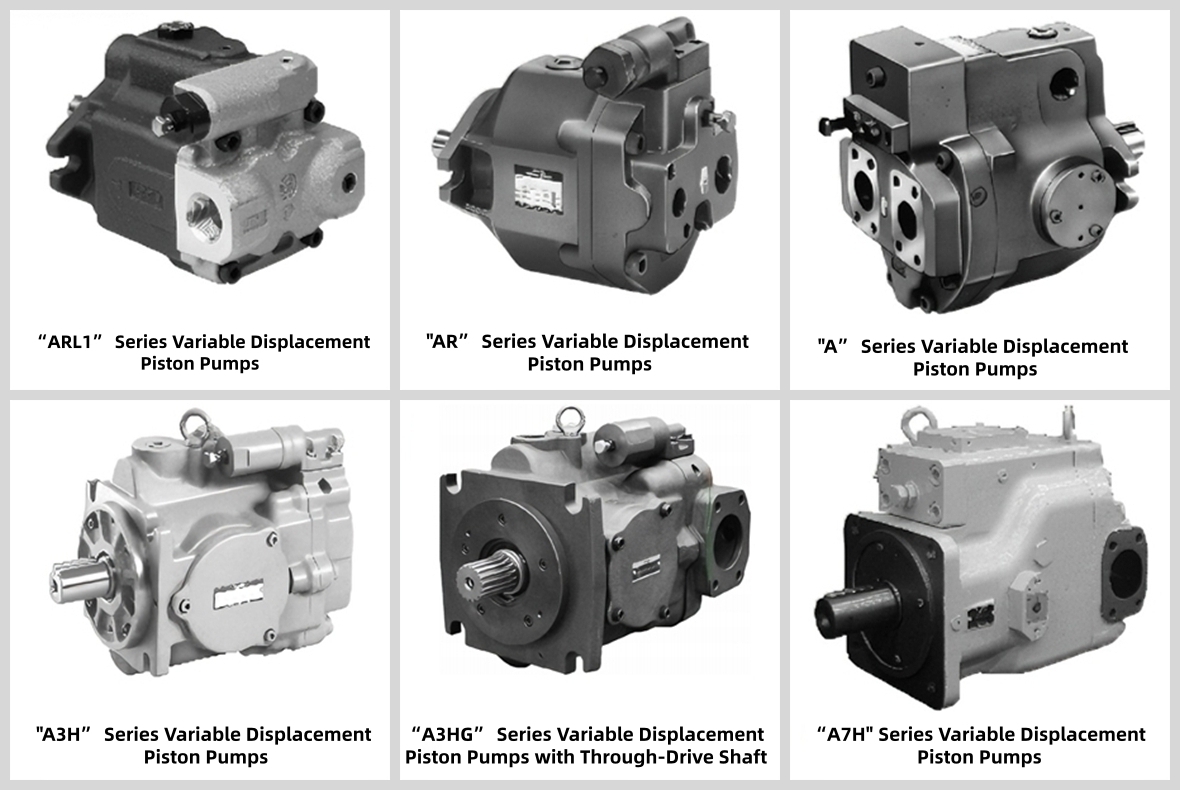
yuken Variable Displacement Piston Pumps
About brand

Shipping & Delivery