Sale


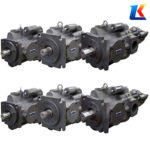


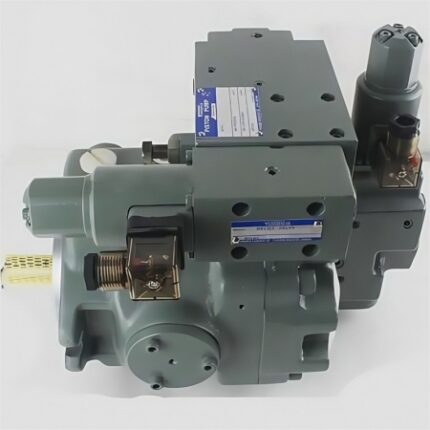
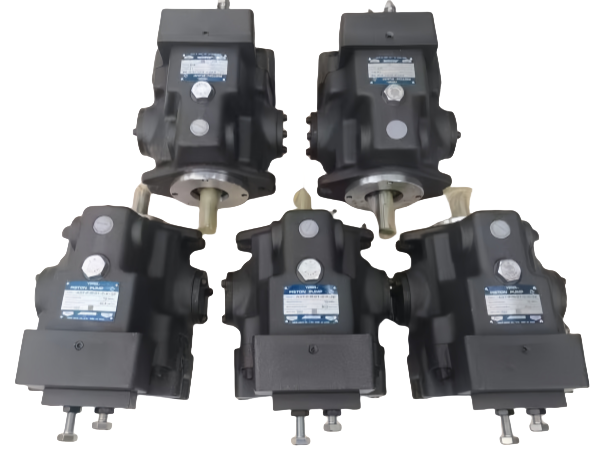
A3HG71-FR01KK-J1C-10 Yuken piston pump
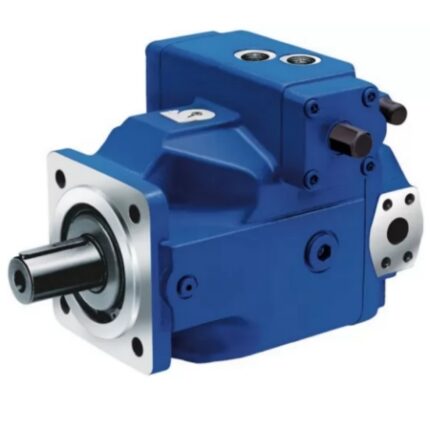
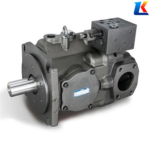
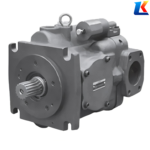
YUKEN piston pump series: A series, AR series, ARL1 series, A3H series, A3HG series, A7H series.
Whats app: +86 13728707767
E-mail: hyd-sales2009@outlook.com
We are a professional manufacturer of hydraulic pumps, offering a complete range of products. Inquiries are welcome! (#^.^#)
Description
Instruction Manual for YUKEN High-Pressure Variable Displacement Piston Pump A3HG71-FR01KK-J1C-10
1. Introduction
1.1 Target Users
This product is intended for users with basic knowledge of hydraulics and electrical systems (equivalent to Level 2 Hydraulic Adjustment Technician or above, or those who have received technical training from our company) or under the guidance of such personnel.
1.2 Application
This product is a piston pump used in hydraulic systems. It is mainly installed on a drive device (such as an electric motor) as the hydraulic source of the hydraulic system to generate hydraulic pressure.
1.3 Product Confirmation
Upon receiving the product, please check the following items carefully. If you find any abnormalities or doubts, please contact the dealer where you purchased the product or the nearest YUKEN sales office.
-
Check if the product model matches the specified model: Confirm by the model number marked on the nameplate (see relevant diagrams and tables in this manual).
-
Check if the product has any abnormalities such as damage or loose screws.
2. Product Overview
2.1 Basic Structure
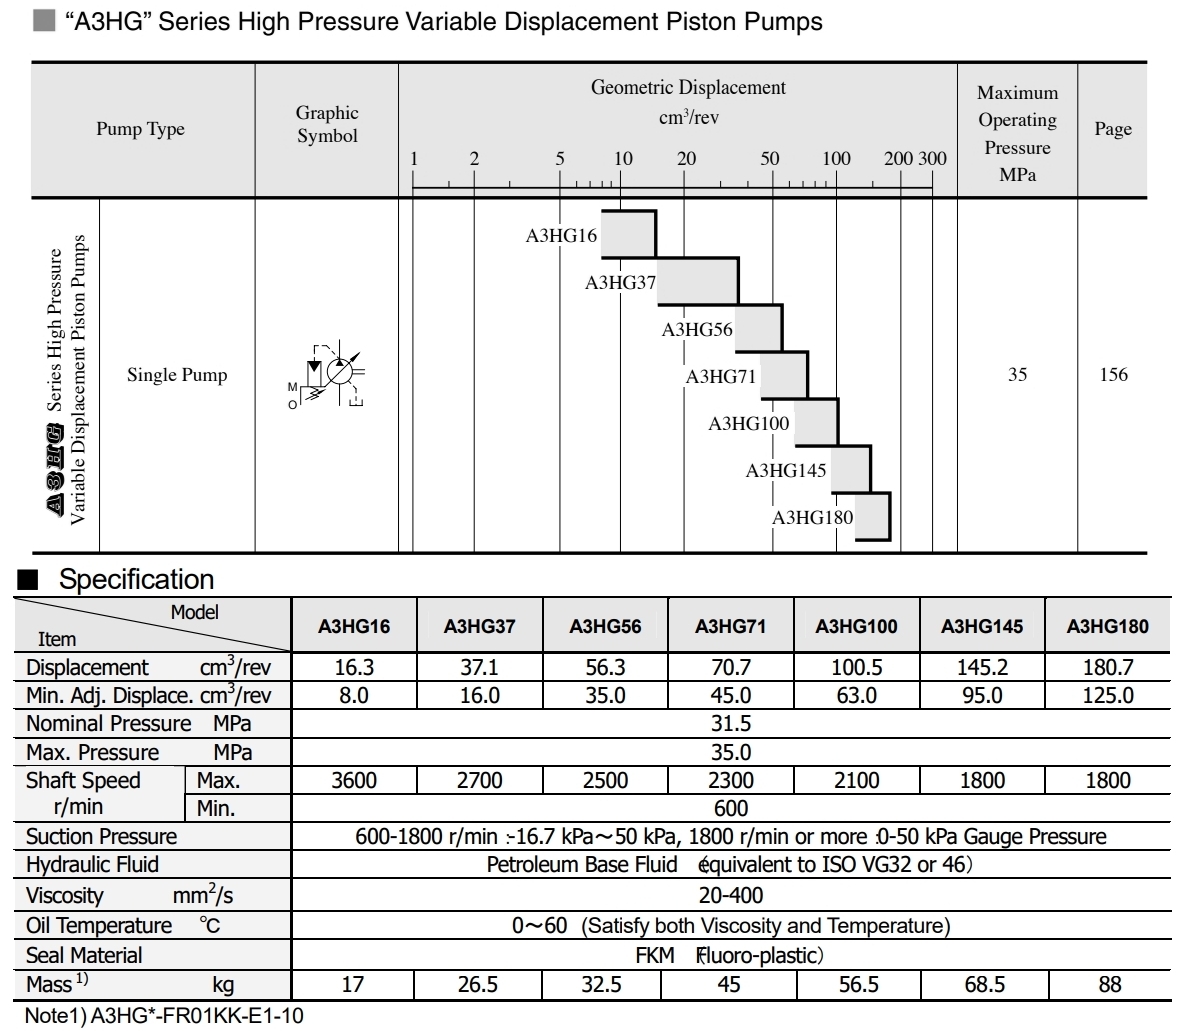
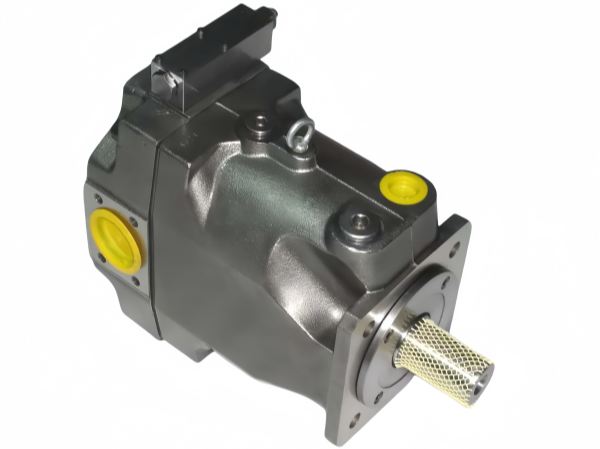
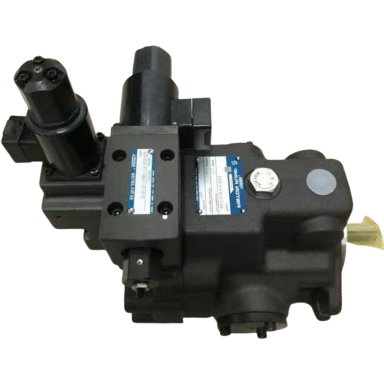
The A3HG71-FR01KK-J1C-10 is a swash plate type axial piston pump, which belongs to the A3HG series high-pressure variable displacement piston pumps. The pump body is composed of a housing and an intermediate body. The intermediate body is equipped with both suction and discharge ports, as well as a discharge adjustment screw. A pressure control valve is mounted on the upper part of the intermediate body. The specific internal structure and component names may vary slightly according to the model, but the overall working principle and assembly method are consistent.
2.2 Key Specifications
|
Specification Item
|
Parameter
|
|---|---|
|
Model
|
A3HG71-FR01KK-J1C-10
|
|
Pump Type
|
High-Pressure Variable Displacement Axial Piston Pump
|
|
Geometric Displacement
|
71 cm³/rev
|
|
Maximum Operating Pressure
|
35 MPa
|
|
Recommended Hydraulic Oil
|
Clean petroleum-based oil equivalent to ISO VG-32 or 46
|
|
Recommended Viscosity Range
|
20 – 400 mm²/s
|
|
Recommended Temperature Range
|
0 – 60 °C
|
3. Safety Precautions
In this manual, safety precautions are classified into three levels: “Danger”, “Warning” and “Caution”. Please read and understand these contents thoroughly before using the product. All precautions are important and must be followed strictly. YUKEN shall not be liable for any accidents or damages caused by using the product in a manner not specified in this manual.
3.1 Danger
Ignoring this indication and improper handling may lead to imminent danger of death or serious injury to personnel.
3.2 Warning
-
Do not put any objects into the pump. Internal components may be damaged during operation.
-
Never modify the product. Failure to do so may result in failure to achieve the designed performance and inability to ensure safety.
-
When the delivery line is suddenly blocked, surge pressure will occur. A safety valve must be installed in the circuit to avoid damage to equipment and pipelines.
3.3 Caution
-
Do not step on the product or place heavy objects on it, as this may cause damage to the product or equipment, or lead to falls and injuries.
-
When manually operating the product, ensure safety first, such as keeping personnel away from the moving parts of the equipment.
-
When using steel pipes for suction or discharge ports, excessive load from the pipeline on the pump may generate excessive noise. If there is a risk of excessive load, use rubber hoses.
4. Installation
4.1 Installation Preparation
Before installation, confirm that the installation site is clean and free of debris, and ensure that the installation tools and accessories are complete. Check the pump for any damage during transportation, and tighten any loose screws.
4.2 Pump Installation
When installing the pump, the filling port should be positioned upwards. Ensure that the installation surface is flat and the pump is fixed firmly to avoid vibration during operation.
4.3 Shaft Connection
Use a flexible coupling whenever possible to avoid any bending or thrust stress. The maximum permissible misalignment is less than 0.1 mm TIR, and the maximum permissible misangular is less than 0.2°.
4.4 Piping Connection
4.4.1 Suction Piping
The permissible suction pressure at the suction port of the pump is between -16.7 and +50 kPa. If the speed exceeds 1800 r/min, adjust the pressure to 0 to +50 kPa. For the suction port piping, use pipes with the same diameter as the specified pipe flange. Ensure that the height of the pump suction port is within one meter from the oil level in the reservoir.
4.4.2 Drain Piping
Install drain piping according to the relevant specifications, and ensure that the pressure inside the pump housing is maintained at a normal pressure of less than 0.1 MPa and a surge pressure of less than 0.5 MPa. The length of the drain piping should be less than 1 m, and the pipe end should be submerged in oil.
4.4.3 Piping Hints
Ensure that all pipelines are clean and free of impurities to avoid blocking the pump or damaging internal components. After piping installation, check for leaks.
4.5 Oil Seal Installation
Install the oil seal according to the product manual to ensure a good seal and prevent oil leakage. Pay attention to the installation direction of the oil seal to avoid installation errors.
5. Operation Method
5.1 Operating Environment
The pump should be used in a clean, dry and well-ventilated environment, avoiding direct sunlight and high-temperature areas. The ambient temperature should be within the range of 0 – 60 °C.
5.2 Hydraulic Oil Requirements
Use clean petroleum-based hydraulic oil equivalent to ISO VG-32 or 46. The oil should be free of impurities, water and other pollutants. Regularly check the oil quality and replace it in time if it deteriorates.
5.3 Pump Operation
-
Before starting the pump for the first time, fill the pump case with clean operating oil through the fill port to prevent dry friction of internal components.
-
Bleed air from the pump case and outlet line to eliminate vibration causes. If the pump is installed above the oil level, the suction piping and suction line filter should be located lower than the pump position to prevent air from entering the suction line.
-
When starting the pump, adjust the control valves so that the oil discharged from the pump is returned to the oil tank to avoid excessive pressure at startup.
-
During operation, observe the pump’s operating status, including noise, temperature and oil pressure. If any abnormal conditions are found, stop the pump immediately for inspection.
6. Maintenance and Inspection
6.1 Hydraulic Oil Contamination Control
Regularly check the contamination degree of the hydraulic oil and keep it within the allowable range. Install an oil filter in the system to filter impurities and replace the filter element regularly.
6.2 Daily Inspection Items
-
Check if there is any oil leakage at the pump connection and seal.
-
Check the operating noise and vibration of the pump.
-
Check the temperature of the pump and hydraulic oil.
-
Check the oil level and oil quality in the oil tank.
6.3 Oil Seal Replacement Method
When the oil seal is worn or damaged and causes oil leakage, replace it in time. The replacement steps are as follows:
-
Stop the pump and cut off the power supply to ensure safety.
-
Disconnect the relevant pipelines and remove the pump from the installation position.
-
Remove the old oil seal with a special tool, taking care not to damage the pump shaft.
-
Clean the oil seal installation groove, apply an appropriate amount of hydraulic oil to the new oil seal, and install it in the correct direction.
-
Reinstall the pump and connect the pipelines, then test run to check for oil leakage.
7. Troubleshooting
|
Abnormal Phenomenon
|
Possible Causes
|
Countermeasures
|
|---|---|---|
|
No oil discharge or insufficient oil discharge
|
1. Air in the suction line; 2. Blocked suction filter; 3. Insufficient oil level; 4. Damaged internal components
|
1. Bleed air; 2. Clean or replace the filter; 3. Add hydraulic oil to the specified level; 4. Disassemble and inspect the pump, replace damaged components
|
|
Excessive operating noise
|
1. Air in the pump; 2. Improper shaft alignment; 3. Loose installation; 4. Contaminated hydraulic oil
|
1. Bleed air; 2. Adjust shaft alignment; 3. Tighten installation screws; 4. Replace hydraulic oil
|
|
Oil leakage
|
1. Worn or damaged oil seal; 2. Loose connection bolts; 3. Damaged gasket
|
1. Replace the oil seal; 2. Tighten the bolts; 3. Replace the gasket
|
|
Excessive pump temperature
|
1. Overload operation; 2. Poor heat dissipation; 3. Contaminated hydraulic oil; 4. Insufficient oil supply
|
1. Reduce load; 2. Check the cooling system; 3. Replace hydraulic oil; 4. Check the suction line and oil level
|
8. Storage and Disposal
8.1 Storage
If the pump is not used for a long time, it should be stored in a clean, dry and ventilated environment, away from moisture and corrosive substances. Before storage, drain the hydraulic oil in the pump, clean the pump body, and apply anti-rust oil to the surface and internal components. Cover the pump with a dust cover to prevent dust and debris from entering.
8.2 Disposal
When the pump is scrapped, it should be disposed of in accordance with local environmental protection regulations. Disassemble the pump, separate metal components and non-metal components, and recycle or dispose of them properly. Do not discard the pump at will to avoid environmental pollution.
About brand

Shipping & Delivery